
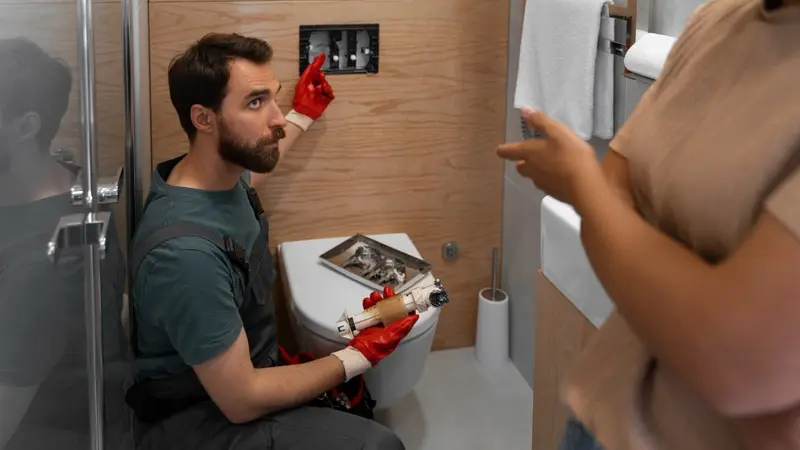
A toilet that uses too much water or struggles to flush may have an incorrectly adjusted float. The float controls the water level inside the toilet tank. When it works correctly, the tank fills to the right level and stops automatically. Learning how to adjust toilet float settings can help prevent water waste, reduce unnecessary refilling, and improve toilet performance. Most modern toilets use either a float cup attached to the fill valve or a ball float connected to an arm. Both designs allow homeowners to correct common water-level problems with basic tools.
Before making adjustments, check the water level inside the tank. If the water rises above the overflow tube, the float may need adjustment. If the tank stops filling too early, the float setting may be too low. This guide explains how to identify your toilet float, adjust its position, and check whether the changes solve the problem.
Why Does Toilet Float Adjustment Matter?
The toilet float signals the fill valve when the tank reaches its intended water level. An incorrect setting can affect flushing performance and increase water consumption.
Common signs of a float problem include:
- Water running continuously after flushing.
- A tank that fills above the overflow tube.
- Weak flushing caused by insufficient tank water.
- Frequent refilling without an obvious leak.
- Unnecessary water entering the toilet bowl.
A damaged flapper or faulty fill valve can cause similar symptoms. Inspect these components if adjusting the float does not resolve the issue.
Types of Toilet Floats
Before adjusting your toilet float, identify which mechanism your tank uses.
Float Cup
A float cup is a plastic cylinder that moves vertically along the fill valve. Many newer toilets use this design. A small adjustment clip or screw controls the water level. If you need more details to visit my blogs.
Ball Float
A ball float is a hollow plastic ball attached to a metal or plastic arm. It rises as the tank fills and signals the valve to stop the water supply. Some older toilets use a different float mechanism. Always check the manufacturer’s instructions if the adjustment method is unclear.
How to Adjust Toilet Float Settings
Follow these instructions to correct the tank water level safely.
1. Remove the Tank Lid
Lift the toilet tank lid carefully and place it on a flat, secure surface. Porcelain lids can crack if dropped or placed on a hard edge. Locate the float and fill valve inside the tank. Avoid disturbing the flapper chain or other moving components.
2. Check the Current Water Level
Flush the toilet and allow the tank to refill completely. Observe where the water stops. Most tanks have a marked waterline or manufacturer-specified fill level. If no marking exists, the water should generally stop about one inch below the top of the overflow tube, unless the manufacturer specifies otherwise. Water flowing into the overflow tube may indicate excessive filling or a fill valve problem.
3. Adjust a Float Cup
If your toilet has a float cup, locate the adjustment screw or clip on the fill valve.
- Turn the adjustment screw according to the manufacturer’s instructions to raise or lower the water level.
- If the valve uses a clip, release it and reposition the float as directed.
- Make small adjustments rather than changing the setting dramatically.
- Flush the toilet and check the resulting water level.
The direction of adjustment varies by valve design, so consult the manufacturer’s instructions when necessary.
4. Adjust a Ball Float
For a ball float, examine the arm connecting the ball to the fill valve. Some models have an adjustment screw that changes the float position. Turn it according to the manufacturer’s instructions to increase or decrease the tank’s water level. Older mechanisms may use a metal arm that can be bent slightly, but avoid forcing it. Excessive pressure can damage the arm or valve. Replace worn or damaged components instead of attempting to reshape them.
5. Test the Water Level
Flush the toilet again and let the tank refill. Check whether the water stops at the recommended level. If necessary, make another small adjustment and repeat the test. The goal is to maintain enough water for an effective flush without allowing water to enter the overflow tube unnecessarily.
6. Check for Continuous Running
Listen after the tank finishes filling. The toilet should stop refilling once the correct level is reached. If water continues running, inspect the flapper for damage, mineral buildup, or a poor seal. Also check whether the fill valve shuts off properly. A faulty valve may require cleaning or replacement.
Common Toilet Float Adjustment Problems
- Even after adjusting the float, some toilets continue to waste water. The following issues may explain why.
- The toilet keeps running: A worn flapper or defective fill valve may prevent the tank from shutting off correctly.
- The flush remains weak: The water level may still be too low, or mineral deposits may restrict the flush openings.
- The tank overfills: The float may be incorrectly positioned, or the fill valve may have failed.
- The toilet refills periodically: A leaking flapper can allow water to escape slowly from the tank into the bowl.
Inspect these components before making repeated float adjustments.
When Should You Replace the Float or Fill Valve?
Adjustment may not solve the problem if the float is cracked, waterlogged, stuck, or unable to move freely. A damaged fill valve can also prevent the tank from reaching the correct water level.
Replace defective parts with compatible components recommended for your toilet model. If you cannot identify the cause of the problem, a qualified plumber can inspect the system.
Final Thoughts
Knowing how to adjust toilet float settings can help you maintain the correct tank water level and avoid unnecessary water waste. Identify the float mechanism, follow the manufacturer’s adjustment instructions, and test the toilet after every change. If the toilet continues running or the water level remains unstable, inspect the flapper and fill valve. Correctly functioning components help maintain reliable flushing and efficient water use.