
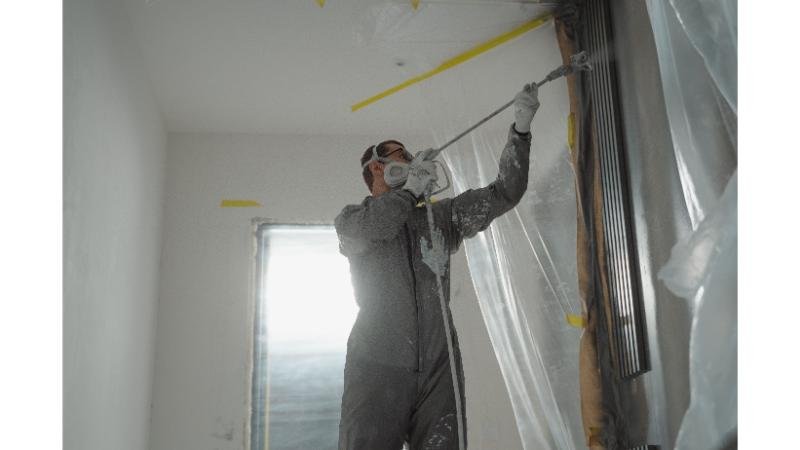
Of all the parts on an airless sprayer, the tip has the biggest effect on your finished result while being the part most people understand the least. It is small, inexpensive, and easy to overlook, right up until a job comes out uneven and nobody can quite explain why. Almost always, the answer traces back to tip selection or tip wear, not a problem with the sprayer itself.
Understanding what those numbers stamped on the side of a tip actually mean is one of the most useful things a painter can learn, whether you are spraying your first fence or running a crew through daily production work.
What the Numbers Actually Mean
Graco and most other manufacturers use a consistent numbering system for spray tips, and once you understand it, reading a tip size becomes second nature instead of a guessing game.
A tip size is typically written as a three or four digit number, like 515 or 517. The first digit, or in some cases the first two digits, represents the fan width when held about twelve inches from the surface, doubled. So a tip starting with a 5 sprays roughly a ten inch wide fan at that distance. A tip starting with 3 sprays a narrower fan, closer to six inches.
The remaining two digits represent the orifice size, the actual diameter of the hole the paint passes through, measured in thousandths of an inch. A tip ending in 15 has an orifice of 0.015 inches. A tip ending in 17 has an orifice of 0.017 inches, which is slightly larger.
Put together, a tip labeled 515 sprays a ten inch fan through a 0.015 inch orifice. A tip labeled 315 sprays a narrower six inch fan through that same 0.015 inch orifice. The fan width and the orifice size are independent of each other, which is exactly why the numbering system separates them into two distinct parts.
Why Orifice Size Matters More Than People Expect
The orifice size controls how much material comes out of the tip, which has a direct relationship to the thickness of the coating you are spraying. Thin materials, like stains and some primers, generally spray well through smaller orifices. Thicker materials, like standard latex paint, need a larger orifice to move enough material through without excessive pressure or a starved, inconsistent pattern.
This is one of the most common mistakes painters make, especially early on. Using a tip with too small an orifice for a thick material forces the sprayer to work harder than it should, straining the pump and often producing a thin, patchy result that requires extra coats to fix. Using a tip with too large an orifice for a thin material wastes paint and can produce an overly heavy, drippy application.
Most machines have a maximum tip size they can support, tied to the motor and pump capacity of that specific model. Exceeding that maximum is not just inefficient, it puts real strain on the pump and can accelerate wear on internal components well beyond normal.
Why Fan Width Matters for the Job, Not Just the Paint
Fan width is more about matching the tip to the surface you are covering than the material itself. A wide fan covers more area per pass, which is efficient for large flat surfaces like siding or fence panels, but it can be harder to control precisely on smaller or more detailed work.
A narrower fan gives you more control for trim, edges, and smaller surfaces where overspray and precision matter more than raw coverage speed. Many painters keep a couple of different fan widths on hand specifically so they can switch between broad coverage work and detail work without changing their entire approach mid job.
Reading Wear, Not Just Size
Even a correctly sized tip does not last forever. Paint passing through a small orifice at high pressure is abrasive, and tips wear from that friction over time. A worn tip shows a wider, less controlled orifice than its original size, which produces a heavier, less consistent pattern even though the tip is technically still functional.
This is one of the more frustrating failures to diagnose because the tip still sprays, it just sprays worse than it should, gradually enough that it is easy to miss until a finished surface looks noticeably uneven. If you are getting inconsistent results with a tip that used to work fine, and nothing else about your setup has changed, tip wear is worth checking before assuming a bigger problem exists elsewhere in the sprayer.
Choosing the Right Reference Before You Buy
Because fan width and orifice size are independent variables, it helps to think of tip selection as two separate decisions rather than one. First, decide the fan width based on the surface and level of detail the job requires. Second, decide the orifice size based on the thickness of the material you are spraying and the maximum your machine can support.
A well organized reference for graco spray tips and guards makes this a lot easier, since you can compare sizes directly against each other rather than trying to remember the numbering system from memory every time you need to make a decision.
If you are not sure which guard or tip assembly matches your specific gun, working from a graco parts diagram tool removes the guesswork, since it shows exactly how the tip, guard, and gun components fit together for your model rather than leaving you to match parts by description alone.
A Few Practical Habits
A handful of habits make tip selection and maintenance easier over time. Keeping a small range of tip sizes on hand rather than a single all purpose tip lets you match the tip to the job instead of forcing one tip to handle everything, which is usually where uneven results start. Rotating a worn tip out before it fails completely, rather than running it until the pattern is obviously bad, keeps finished work more consistent from job to job.
It also helps to keep a mental note of which tip size worked well for a given material the last time you used it. Painters who spray the same handful of coatings regularly, a standard exterior latex, a deck stain, a primer, tend to settle into a short list of go to tip sizes fairly quickly once they have run a few jobs and compared results.
The Takeaway
Spray tips look like a minor accessory, but they control more of your finished result than almost any other single part on the sprayer. Learning to read the numbering system, matching orifice size to material thickness, and fan width to the surface you are covering, takes the guesswork out of a part that causes more frustration than it should for how simple it actually is once you understand it. A few extra minutes spent choosing the right tip before you start spraying almost always saves far more time than fixing an uneven finish after the fact. Once you know that list, tip selection stops being a source of trial and error and becomes just another quick step in setting up for the day.